


Article by
Jake Blasco, B-2 Licensed Contractor
Jake Blasco leads project planning and remodeling work at Blueprint Kitchen & Bath Design Studio and serves as its Responsible Managing Employee (RME). Blueprint holds California B-2 Residential Remodeling contractor license CSLB #1161570.
His background includes approximately 30 years in commercial production, along with hands-on experience in cabinetry, windows, and set construction. He brings that planning and practical problem-solving approach to kitchen, bathroom, and whole-home remodeling.
Blueprint primarily serves Huntington Beach and nearby Orange County communities, with select projects in Redlands and surrounding Inland Empire communities.
Through Blueprint’s “Before You DIY” and “Before You Buy” series, Jake shares practical guidance on project preparation, materials, tools, and avoiding common remodeling mistakes.
A clean drain matters, but it can’t protect a curbless shower on its own. Maintaining a curbless shower means clearing the drain regularly, cleaning tile and grout with non-abrasive products, and watching for damage that could let moisture reach the structure. Check grout for damage and address it promptly to help protect against moisture.
It’s easy to focus on visible finishes, but the shower’s performance also depends on what lies beneath them. The floor slope, drain placement, and waterproofing system work together to guide water toward the drain and protect the surrounding bathroom.
This guide explains how routine drain care supports steady drainage, what to check in waterproofing and grout, and why the floor’s slope and flush transition matter. You’ll learn which tasks belong in a regular cleaning routine and which signs may point to a construction issue rather than everyday wear.
Key Takeaways
- Consider how an open layout or partial glass panel affects splash control and the look of the bathroom.
- Remove and clean the drain cover regularly to help keep debris from obstructing water flow.
- Plan the floor slope and drain location together; a linear drain can support a single-direction slope.
- Make sure the waterproofing system addresses seams and transitions, and is flood-tested before finish materials are installed.
Routine drain cleaning and maintenance
Regular cleaning keeps debris, soap scum, and mineral deposits from restricting drainage. Watch how water moves across the shower floor, not just through the drain.
Linear Drains and Point Drains
A linear drain collects water along an elongated channel, while a point drain gathers it in one place. With a linear drain, the shower floor can slope in a single direction, which may simplify tile layout. A point drain requires the floor to slope toward its central opening from multiple directions. Either option can work when drain placement and floor slope are coordinated.
Choose a drain based on the shower’s shape, tile plan, and intended water flow. For example, a linear drain along one wall can suit large-format tile because the floor doesn’t need several intersecting slopes. Keep the drain cover accessible for cleaning, since trapped hair and residue can slow either system.
Drainage Systems and Water Leakage
Drainage carries water away; waterproofing protects the floor and walls beneath the finish. A backed-up drain can leave standing water on the shower floor, while failed seams or transitions can let moisture into surrounding materials. Proper drainage helps limit water spreading beyond the shower, but it doesn’t replace a continuous waterproofing system.
Pay attention to changes: water lingering near the enclosure, a slow drain, or damp areas beyond the shower deserve attention. These signs can have different causes, so distinguish a clog beneath the removable cover from a leak or installation concern before choosing a repair.
For routine care, remove the drain cover and clear away hair and soap residue regularly. Clean the shower area and drain often enough to prevent visible buildup. Use a non-abrasive cleaner on tile and grout to avoid harsh scrubbing. Squeegee the glass after use to reduce water spots, and inspect grout for cracks or damage. Seal grout annually, and consider professional drain cleaning annually to support steady flow.
- Lift the cover and remove debris without forcing tools into the drain.
- Rinse away cleaner and residue so deposits don’t collect around the channel.
- Note recurring clogs or pooling, which may signal more than surface buildup.
When drain placement is part of a larger bathroom plan, whole-home remodeling can bring room layouts and finishes into one coordinated project.
Planning for a flush floor transition
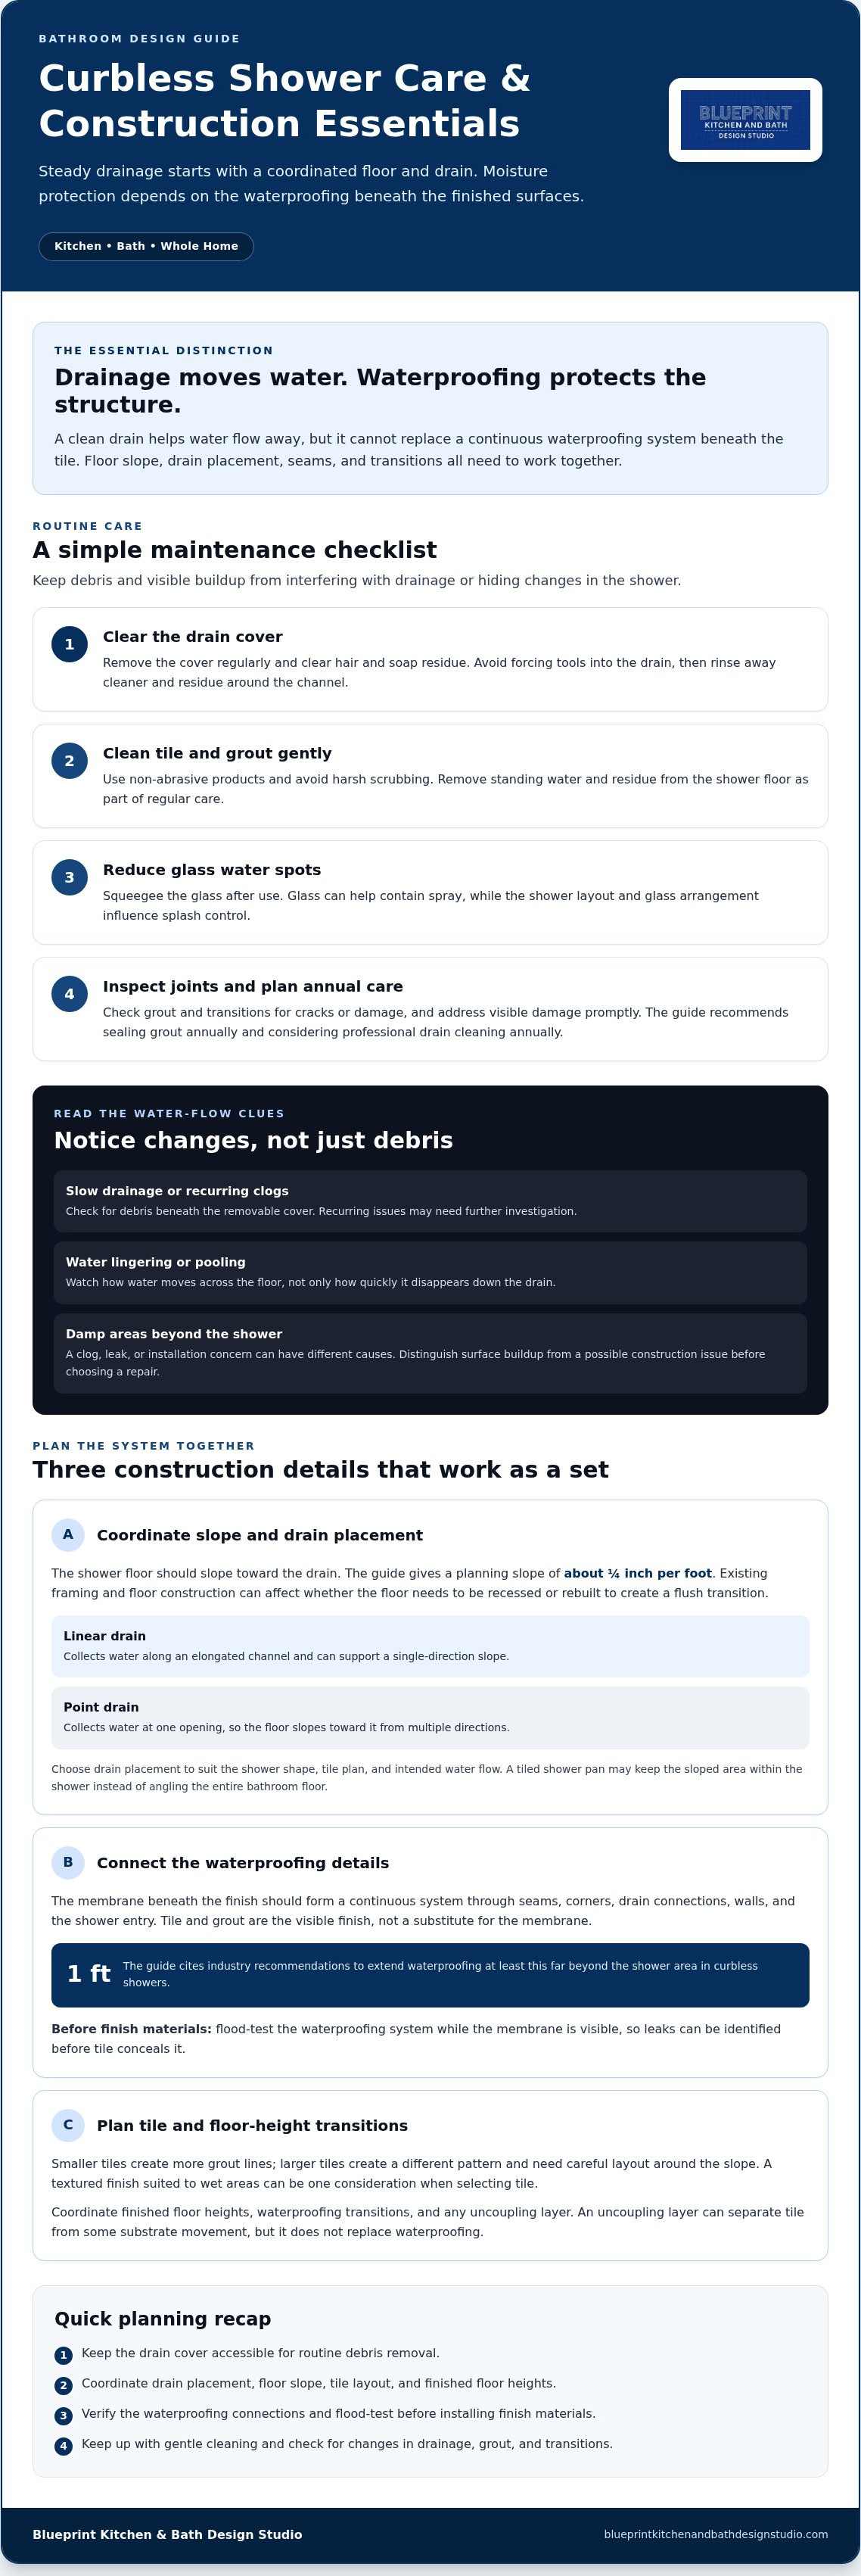
Plan the shower floor, drain, and surrounding bathroom floor together. A flush threshold depends on coordinated floor slopes, waterproofing, and finished floor heights.
A curbless shower floor should slope about 1/4 inch per foot toward the drain to help water move without pooling. Creating that slope may require lowering or modifying the existing subfloor. In some bathrooms, the floor must be recessed or rebuilt to keep the shower entrance level with the rest of the room. Existing framing and floor construction shape the options.
A tiled shower pan can keep the sloped area within the shower instead of angling the entire bathroom floor. That can preserve a level surface outside the shower while maintaining a clear transition. The pan, drain, and waterproofing need to work as a system. A height change at the doorway or shower edge can affect both water movement and the visual continuity of the flooring.
Floor finishes also shape the bathroom’s appearance and everyday upkeep. Textured tile or another surface suited to wet areas can provide traction underfoot. Smaller tiles may create more grout lines, while larger tiles create a different visual pattern and may need careful layout around the slope. Choose a finish that balances your aesthetic preferences with practical cleaning. Follow its care guidance, and avoid abrasive products that can wear the surface or grout.
Where the shower meets the surrounding flooring, an uncoupling layer may be part of the tile assembly. It separates tile from some movement in the substrate, but it doesn’t replace waterproofing. Coordinate the layer, waterproofing transitions, and floor height before installation. For example, thicker tile outside the shower may require adjustments to keep the entrance flush without creating an abrupt edge.
As part of routine care, remove standing water and residue from the shower floor, then check grout and transitions for visible damage. Promptly addressing a cracked joint helps keep moisture from reaching areas beneath the finish.
Waterproofing membranes and moisture risks
A curbless shower needs a continuous waterproofing system beneath its finished surfaces. Tile and grout provide the visible finish, but they don’t replace the membrane that protects the subfloor. Seams, corners, drain connections, and the shower entry all need careful integration. A gap at any transition can give moisture a path into materials below the tile.
Waterproofing should be integrated with nearby bathroom surfaces to help manage moisture beyond the shower area. Industry guidelines recommend extending waterproofing at least 1 ft beyond the shower area in curbless showers. The membrane’s layout should connect with the drain and wall protection, rather than ending abruptly at the shower opening. These connected surfaces help protect the bathroom structure if water reaches the floor beyond the shower.
Before the final finishes are installed, the waterproofing system should be flood-tested. This test can reveal leaks while the membrane is visible, before tile conceals it. Ask which areas the waterproofing covers and how its seams and drain connection are integrated. Those details matter more for moisture protection than the appearance of the finished grout lines.
Glass can help contain spray, but a curbless shower doesn’t always need a full enclosure. A partial glass panel can limit splashes while keeping the layout open. An open design may look spacious and make cleaning easier, but it won’t contain water as fully. Positioning the shower head away from the bathroom door can also reduce spray reaching nearby flooring.
Water containment depends on the whole arrangement: shower head direction, floor slope, drain location, glass placement, and waterproofed surfaces. For example, a partial panel may work well when the shower head faces away from the opening. A raised threshold isn’t part of a flush entry, so plan carefully for splash control and drainage.
After installation, watch for recurring dampness outside the shower, loose tile, or deteriorating grout. These signs don’t identify one specific cause, but they warrant investigation before moisture affects the subfloor or adjacent finishes. Keep the drain clear and dry the floor after use to make unusual water patterns easier to spot.
Blueprint Kitchen and Bath Design Studio: Doorway Widening
Blueprint Kitchen and Bath Design Studio offers Doorway Widening for homeowners planning changes to a bathroom entrance. If a curbless shower is part of a larger bathroom remodel, considering the doorway alongside the room layout can help the renovation feel coordinated.
This can be a useful part of the plan when the existing entrance is also being reconsidered. Include the doorway and surrounding bathroom design in the same project scope.
Contact Blueprint Kitchen and Bath Design Studio to discuss Doorway Widening as part of your bathroom plans.
Plan the next stage of your bathroom
Use your maintenance routine to decide whether the shower needs ongoing care or a broader bathroom update. If maintaining a curbless shower is part of a renovation plan, consider how the shower finishes, storage, lighting, and overall layout should work together. A clear scope helps you prioritize what to keep, what to replace, and how the room should function after the work.
Before planning begins, note which parts of the bathroom feel dated or no longer suit your preferences. For example, you may want to coordinate new shower tile with a vanity finish or improve storage while updating the room. These choices can help create a cohesive renovation rather than a collection of separate changes.
Blueprint Kitchen and Bath Design Studio can discuss bathroom remodeling and design choices for your project. Start a bathroom design conversation.
Blueprint Kitchen and Bath Design Studio
Kitchen • Bath • Whole Home
909-679-3296 | CSLB #1161570
A thoughtful plan can help your bathroom serve you well for years to come.
Frequently Asked Questions
How do you clean and maintain a curbless shower?
Clean the shower surfaces and drain routinely, and dry areas where water collects after use. Care for each material separately: glass needs different attention from tile, grout, metal fixtures, and stone surfaces. For example, use a soft cloth on glass and a cleaner labeled for the specific tile or stone. Note recurring stains or damp spots so you can spot changes more easily.
How often should you reseal curbless shower grout and waterproofing?
Seal grout annually, but treat the waterproofing membrane differently. The membrane sits beneath finished surfaces, so applying a surface sealer to tile or grout doesn’t renew it. Waterproofing is installed as a system before finishes are applied, then flood-tested before those finishes go in. If moisture appears outside the shower, investigate the cause instead of relying on another coat of grout sealer.
What cleaners are safe for curbless shower tile, grout, and natural stone?
Choose a cleaner labeled for the specific surface, and follow the tile or stone manufacturer’s care instructions. Natural stone can react differently from ceramic tile, so don’t assume one bathroom cleaner suits every material. Avoid abrasive pads that can mark finishes, and don’t mix cleaning products. If a label doesn’t identify the surface as suitable, choose another product before applying it across the shower.
How do you prevent water from escaping a curbless shower?
Manage spray through the shower layout, glass placement, and drainage rather than relying on a raised edge. Aim the shower head away from the bathroom entrance, and consider whether a partial panel or enclosure better suits the opening. After use, observe where water travels. Repeated wetting beyond the shower may indicate that splash patterns, floor drainage, or water containment need attention.
How do you maintain a curbless shower drain and prevent clogs?
Remove the drain cover regularly and clear away hair and residue before they build up in the channel. Rinse off soap deposits during routine cleaning, then check whether water drains at its usual pace. If drainage repeatedly slows after visible debris is removed, buildup farther inside the drain may be the cause. Avoid forcing tools into the opening, which can damage drain components or dislodge debris.
What are common curbless shower problems, such as leaks or standing water?
Common concerns include slow drainage, water that remains on the floor, cracked grout, loose tile, and dampness outside the shower. Note where water gathers and whether the drain is visibly obstructed. A surface clog differs from pooling that continues after cleaning, while dampness beyond the shower may involve a seam or waterproofing transition. Record when the issue occurs to help identify its pattern.
Disclaimer
This article provides general educational information and design inspiration, not project-specific professional advice. Costs, timelines, permit requirements, building codes, and product suitability vary by property and jurisdiction. Final scope, pricing, and specifications are established only through a written proposal or contract. Consult qualified professionals and local building officials before beginning work. Unless expressly identified as a completed Blueprint project, images are illustrative and may include stock photography, design renderings, or AI-generated imagery.


